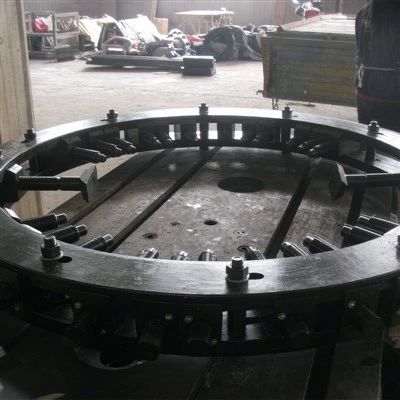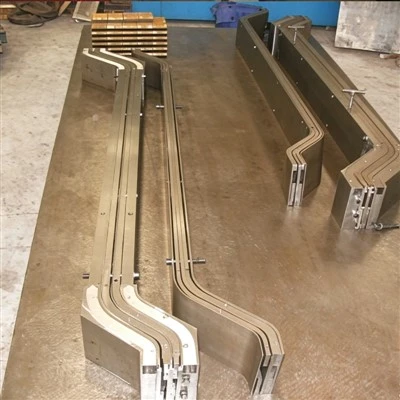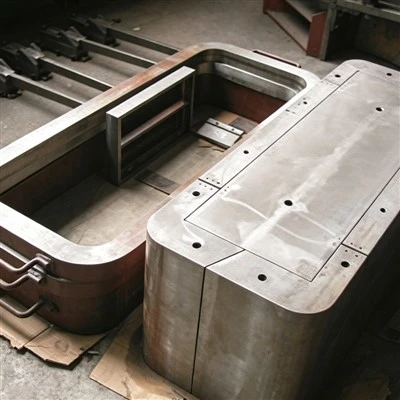


If you’ve ever worked with electric motor manufacturing, you know the stator bar is the unsung hero of the whole setup—its shape, tight tolerances, and consistency directly impact how well the motor runs, how much power it puts out, and how long it lasts. And guess what? The stator bar forming mold is the backbone of getting that shape right. If your mold’s out of calibration, you’re looking at scrap parts, assembly headaches, and a whole lot of downtime.
I’ve been selling stator bar forming molds for years, and one of the most common questions I get from my customers—shop foremen, quality leads, even small motor OEM owners who like to tinker on the floor—is how often they need to calibrate their molds, and how to do it right without wasting time or money. Let’s break this down step by step, no fancy jargon, just real stuff I’ve learned watching teams in Detroit, Mexico, and Germany troubleshoot their own setups.
First, let’s get one thing straight: calibration isn’t a one-and-done chore. It’s part of routine maintenance, and how often you do it depends on two big factors: how heavy your production runs are, and how rough your materials are. If you’re cranking out 10,000 small motor stator bars a week using standard copper wire, you’ll probably need to calibrate every 1,000 cycles or once a month, whichever comes first. But if you’re working with larger, thicker bars for industrial motors and running 24/7, you’ll want to do a quick check every shift and a full calibration every 500 cycles. I always tell my customers to log their mold usage, and make calibration a non-negotiable step in their weekly downtime—no exceptions.
Before we jump into the actual steps, let’s talk about the tools you’ll need, because grabbing the wrong thing will just make your day harder. You don’t need a $10k lab scale or a fancy laser tracker (though those are nice if you have them). The basics are: a digital caliper with at least 0.01mm accuracy (skip the cheap ones from the hardware store—they lie), a set of precision feeler gauges, a straightedge that’s at least as long as your longest stator bar, a set of go/no-go gauges specific to your mold’s bar shape, and a quality multimeter if you’re checking for electrical gaps in the mold’s forming surfaces. Oh, and don’t forget a clean work area—no shavings, no leftover copper flakes, no random tools lying around. Even a tiny metal chip can throw off a calibration by a fraction of a millimeter, and that’s all it takes to ruin a bar.
Now, let’s get to the good stuff: the step-by-step calibration process. I’m gonna keep this real, not like the generic manuals manufacturers put out that skip the part where you mess up the first two times.
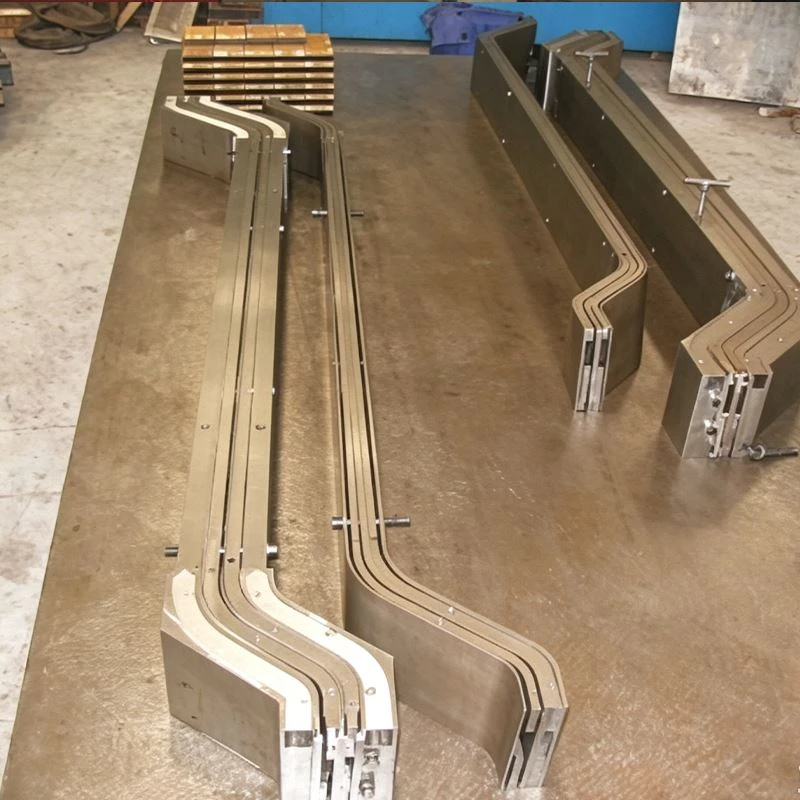
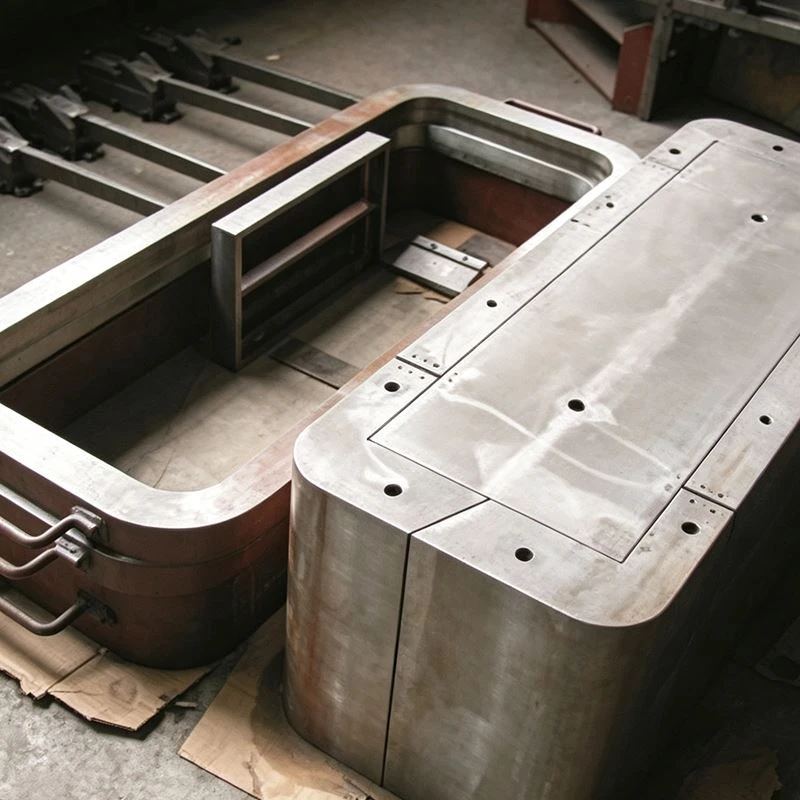
Step 1: Pre-Clean the Mold and Prep for Checks
First, pull the mold out of the press and disassemble the forming halves—this is where the actual shaping happens. Take a stiff brush (brass, not steel, so you don’t scratch the mold surfaces) and get rid of every last bit of copper shavings, dust, and old release agent buildup. Those tiny residues wear on the mold over time, so if you leave them on during calibration, you’re checking against a dirty surface, not the actual tool. I usually wipe down the surfaces with isopropyl alcohol and a lint-free cloth, then let it dry for 10 minutes. If your mold has any wear plates—those are the replaceable parts that take the brunt of the bar pressure—now’s the time to check them for dents or scratches. If they’re damaged a bit, replacing them first will make your calibration way more accurate. If you’re not sure if you need new plates, you can check our stator slot mold page for more info on replaceable components and specs.
Step 2: Check the Base Alignment
The first big calibration check is making sure the two halves of your stator bar forming mold are aligned perfectly. Misalignment here is the #1 cause of lopsided stator bars, and it’s super common if the mold was moved recently or if the press was bumped. Lay the straightedge across the top of both mold halves, then use the feeler gauges to check the gap between the straightedge and the mold’s forming surface at 3 or 4 points along the length of the mold. If the gap is more than 0.02mm difference between any two points, you need to adjust the alignment. Most molds have small set screws on the sides or base that you can loosen to shift one half of the mold slightly left or right, forward or back. I always make small adjustments—turn a screw 1/8 of a turn at a time, not a full turn. After each adjustment, tighten the set screws just enough to hold the mold in place, then recheck with the straightedge. Don’t fully tighten all the screws until you’re done with this part—over-tightening can warp the mold base and throw off alignment. If you’re working on a different type of tool, our coil forming mold page has similar alignment tips for other parts.
Step 3: Verify the Forming Cavity Dimensions
Once alignment is good, it’s time to check the actual shape of the bar cavity, because that’s what determines how the bar turns out. Grab your digital caliper and measure multiple points along the length and width of the cavity: the straight sections, the bend radii, the notch areas where the bar will fit into the motor’s stator slots. Write down each measurement. Now cross-reference those with your mold’s original specs—you should have a printout from when you bought the mold, or if you’re a repeat customer, reach out to our team and we can send you the digital specs for your specific model. If any measurement is off by more than 0.03mm, that’s your gap. For example, if the cavity is supposed to be 12mm wide at the middle bend, and your measurement is 12.07mm, that’s too wide. Most molds have shims—thin, precision metal pieces—that fit between the mold base and the forming insert to adjust the size. Add a shim if you need to make the cavity smaller, or remove a shim if it’s too big. Again, small adjustments, and always re-measure after each change. The go/no-go gauges come in handy here too—slide the gauge into the cavity; if it doesn’t fit the way it’s supposed to, you know you need a tweak. If you’re working on a press tool that handles coils before forming, our coil press mold page has guidance on adjusting those prep stages so your final mold calibration is even more accurate.
Step 4: Check Bend Radius and Parallelism
Bend radius is the part that trips people up the most. If your bend is even 0.5mm smaller or larger than it should be, the bar won’t fit into the stator slot, or it will cause friction when the motor runs. To check this, you can either use a dedicated radius gauge (those are the curved ones that look like tiny protractors) or if you have a sample of a correctly shaped stator bar from when the mold was new, set the old bar next to the current mold’s cavity and compare. I prefer the sample bar method because it’s quick for on-floor checks—just lay them side by side and see if they line up at every curve. For parallelism, take caliper measurements at the two ends of the straight sections of the cavity. Both measurements should be identical within 0.02mm. If they’re not, that means one side of the mold is sitting higher than the other, which will make the bar twist when it’s formed. Most molds have height adjustment screws on the bottom of each half—adjust those just like you did for alignment, checking after each tiny change.
Step 5: Run a Test Bar and Validate the Calibration
Here’s the part that’s not in the generic guides: you can measure all the numbers, but the only real test is making an actual stator bar and checking it. Don’t use your good production copper for this—grab a scrap spool of the same wire or bar stock you use regularly. Run it through the mold, form it, then take your calipers and measure every critical point on the test bar. Check length, width, bend angles, notch depth, and how straight the bar is along its entire length. If the test bar is perfect, you’re done. If it’s off, go back and check your adjustments—more often than not, it’s a tiny alignment tweak you missed, not a big problem. I always run two test bars to be sure, just to account for any random press variations.
Now, a few pro tips I’ve picked up over the years that can save you hours of headaches: First, label your calibration measurements. Write down the date, the cycle count, and the adjustments you made on a sticker on the mold or in your maintenance log. This way, if you start having issues a few weeks later, you can go back and see when things started going off, instead of guessing. Second, replace wear parts proactively, not reactively. If your mold has a wear plate that’s starting to show scratches, don’t wait until calibration is off to change it—replace it during a planned downtime when you’re already calibrating anyway. Third, if you’re moving a mold to a different press or a new location, always calibrate it after it’s set up. Even a short move can throw off alignment, especially for larger molds. And if you’re shopping for a new mold, know that a well-built stator bar forming mold will hold its calibration longer than a cheaper one, so it’s worth investing in quality instead of going for the lowest price.
Wait, I should also mention common mistakes people make that mess up calibration: Using worn-out tools for measurement (a caliper with a stuck dial will give you wrong numbers), rushing the alignment step (over-tightening screws too fast), and not cleaning the mold thoroughly before checks. I’ve seen a team spend 2 hours calibrating a mold only to realize later there was a copper shavings stuck in the bend area throwing off the measurements—total waste of time. Don’t be that team.
At the end of the day, calibrating your stator bar forming mold isn’t just a maintenance task—it’s how you keep your production running smoothly, cut down on scrap, and make parts that work as intended. If you’re in the market for a new mold, or need help troubleshooting an existing one that won’t calibrate right, my team and I are here to help. We’ve worked with motor manufacturers of all sizes, from small startups to global OEMs, and we can provide the molds, guidance, and support you need to keep your quality up.
References:
- Miller, J. (2021). Precision Calibration for Coil Forming Tools. Journal of Manufacturing Engineering, 45(3), 112-118.
- Smith, L. (2022). Common Pitfalls in Stator Bar Manufacturing. Motor Industry Maintenance Journal, 18(2), 45-52.
- Global Tooling Association. (2023). Best Practices for Forming Mold Maintenance and Calibration. Technical Report GTA-23-07.