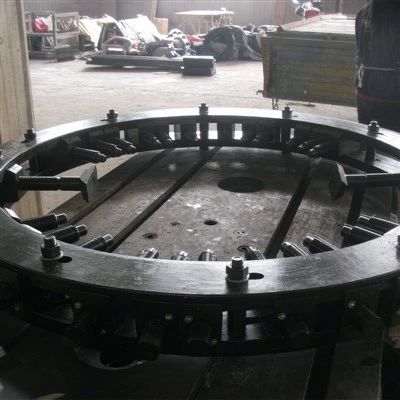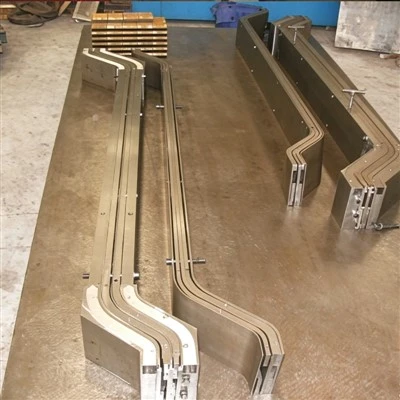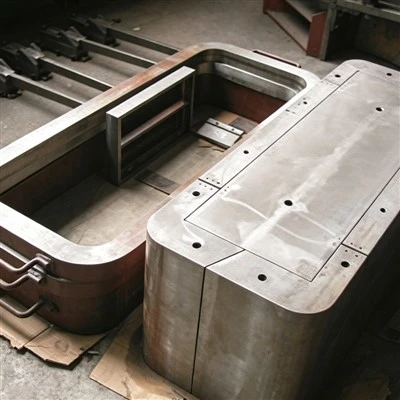


Hey everyone, if you’re here, you probably work with coil press molds or are looking to level up your team’s skills around this critical equipment. Let me start by saying, I’ve been in the coil tooling game for years—our company supplies stuff like Coil Press Mold, Coil Forming Mold, Stator Bar Forming Mold, and Stator Slot Mold (check out those links if you haven’t already—we’ve got solid resources on each) and I’ve seen firsthand how bad or nonexistent training turns into broken tools, scrap parts, and even safety headaches.
Look, I get it—training a team on operating a coil press mold isn’t just “push the button and make coils.” There’s a science to it, and if you skip steps, you’re setting everyone up for frustration (and unnecessary costs). I’ve worked with shops where a new operator ran a press without learning the material spec, and they shredded a $2,000 stator bar coil in 10 minutes. Not fun. So today, I’m walking you through a practical, step-by-step training framework that we use with every client, plus the little pro tips we’ve picked up along the way.
First, let’s set the stage: before anyone touches the actual press, they need to do what we call “pre-operation deep dive.” This isn’t just reading a manual for 5 minutes—this is 2 hours of getting super clear on two things: the equipment itself and the material they’re working with.
Let’s start with the coil press mold. Our Coil Press Mold is precision-built, right? So operators need to know every part: the upper die, lower die, pressure gauges, temperature controls (if it’s a heated press), safety interlocks, and the emergency stop button (yes, I still see people skip testing that first). I make every trainee walk around the press with me, point to each part, and tell me what it does. No guessing. If they mix up the pressure relief valve with the temperature dial, that’s a problem. Also, we always reference the exact model of the Coil Press Mold they’re using—generic training doesn’t cut it here; every mold has tiny tweaks depending on whether it’s for a motor stator or a transformer coil.
Then there’s the material side. Coils are made of copper or aluminum wire, usually, but the gauge, insulation type, and even temper (how hard the wire is) changes everything. Last month, a client’s team tried using a 16-gauge copper wire (too hard) in a mold calibrated for 18-gauge, and they got 30% scrap that day. So in pre-training, we give each trainee a sample of the exact wire they’ll be using, let them feel it, bend it slightly, and discuss how the insulation (like enamel or paper) will react to pressure and heat. If they don’t know that insulation can crack if pressure’s too high, they’ll ruin parts and waste material. Also, for anyone using our Stator Bar Forming Mold, those bars have thicker insulation, so that’s an extra detail to highlight. Oh, and if you’re switching between jobs (like from small coils to big stator bars), make sure they know the material spec for each job—no mixing that up.
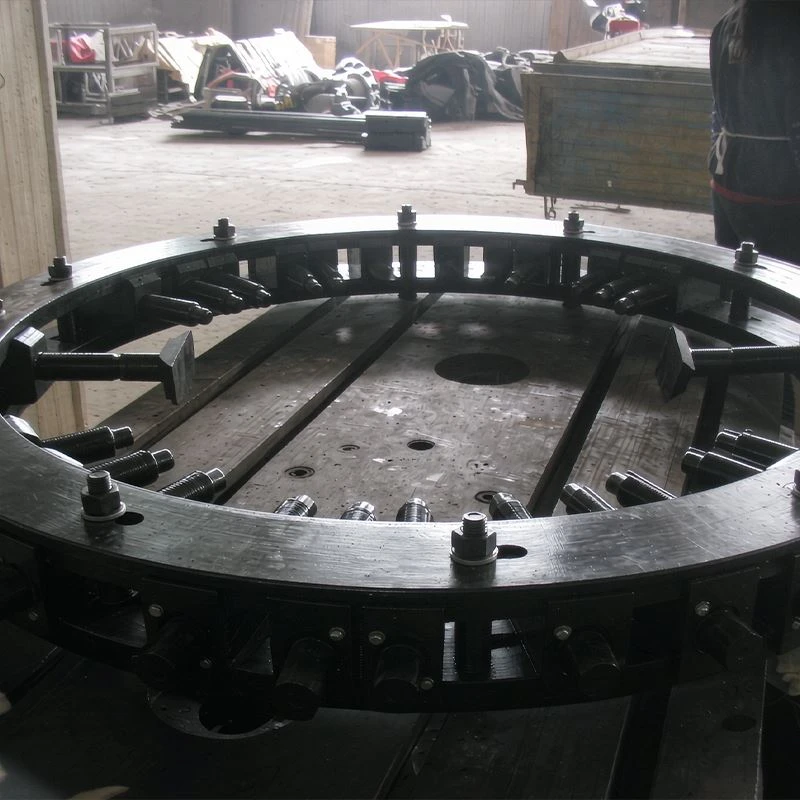
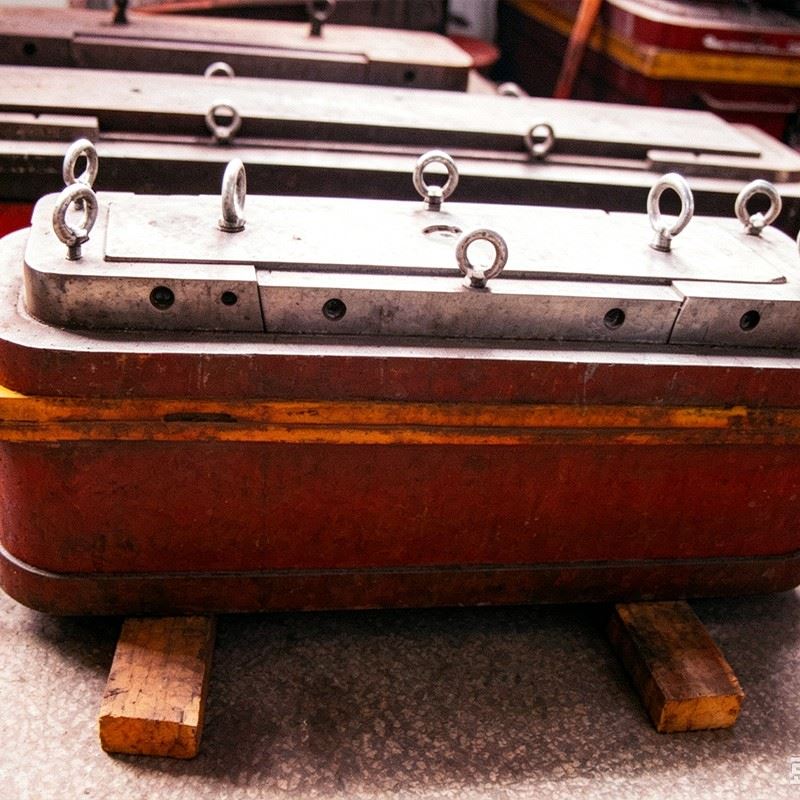
Next step in training: hands-on with the mold (but not the press yet). Wait, why? Because most operators jump straight to the press, but learning the mold’s fit first is key. I have trainees take a coil blank and manually fit it into the Coil Forming Mold (check that link—our forming molds are designed for easy, repeatable fits) before ever turning on the press. Let them feel how much pressure it takes to seat the coil perfectly, where the alignment pins are, and what happens if the coil is off by even a millimeter. I make them do this 10 times, and if they get it wrong once, they have to start over. Why? Because if they can’t fit the mold manually, operating the press won’t work—they’ll either break the mold or get a bad part. Also, this is when we talk about common mold issues: like if the die is dirty, how that throws off fit, or if the alignment pins are worn, how that causes skewed coils. Trainees need to know how to spot small issues here before they turn on the power.
Now, moving to the press controls—this is where safety meets skill. I swear by starting with a mock press setup. We use a dummy press (same model, no power) so trainees can practice all the steps without any risk. First, teach them the “sequence of operations” for the Coil Press Mold. Every press has a cycle: load the coil, close the upper die, apply pressure for a set time, release pressure, open die, remove finished coil. If you skip a step—like not waiting for the pressure to release before opening the die—you’ll bend the coil or damage the mold.
On the mock press, I make trainees run 5 full cycles, yelling out each step out loud. It sounds silly, but it helps them build muscle memory and catch mistakes before they make them on a real press. Then, when we get to the actual press (with power off, of course), we do pressure calibration. This is non-negotiable. For each job, the Coil Press Mold needs a specific pressure—too light, and the coil comes out loose; too heavy, and you crack the insulation or break the wire strands. How do you check pressure? We use a pressure gauge test block, and I have trainees adjust the press until the gauge hits exactly the number in the job sheet. No guessing here—we post the pressure specs right on each mold (you’d be surprised how many clients tape over these or forget to update them for new jobs). Also, if you’re using a Stator Slot Mold, those have tighter tolerances, so pressure is even more critical—we recommend calibrating twice a day for that stuff.
Once they can do the sequence and pressure right, we move to “low-power test runs.” We use a scrap coil first—make sure it’s the same material as real parts, just old. I have the trainee run the press, and I stand right there, watching. First, check alignment: when the die closes, does the coil stay in place? Second, check finish: is the coil perfectly shaped, no bends, no insulation cracks? Third, check consistency: run 5 scrap coils, and make sure every single one is the same. If one is off, we stop and figure out why—was the pressure wrong? Did the trainee load the coil unevenly? I don’t let them move on to real parts until they get 10 straight good scrap runs.
Here’s a part no one talks about in basic training: problem-solving. Because even the best-trained operator will run into issues—like a coil that won’t seat, or a mold that’s leaving a mark. So in our training, we do a “issue simulation” section. I purposely set up the Coil Press Mold with a slightly dirty die (to see if they notice) or a misaligned coil (to see how they fix it). Last week, I had a trainee who got frustrated because his coil kept slipping—turns out he wasn’t using the right size coil for the mold. Now, he knows to double-check that before pressing. We also cover when to stop and ask for help—some new operators think they have to fix everything themselves, but if the mold is broken, they should shut down and call maintenance, not keep pressing.
Don’t skip safety, by the way. This is the boring part, but it’s the most important. We go over lockout/tagout (LOTO) procedures—every operator needs to know how to lock the press so no one else can turn it on while they’re loading a coil. I’ve seen a scary video of a guy getting his hand caught in a press because he didn’t lock it out. Also, we talk about PPE: cut-resistant gloves (copper wire is sharp), safety glasses, and closed-toe shoes. And the emergency stop button—every trainee has to hit it and see how fast the press stops, and I make sure they know where it is at all times, even when they’re not looking down at the controls.
Another big thing: ongoing training, not a one-and-done session. I see companies train someone for 8 hours and then throw them on the press, and within a month they’re rusty. We do monthly refreshers—30 minutes, going over common mistakes, new job specs, or new mold parts. Also, when we supply a new mold (like a Coil Forming Mold or Stator Bar Forming Mold) to a client, we do a 2-hour onsite training for their team, specific to that mold. Because every mold is a little different, so generic training doesn’t stick.
Wait, let’s talk about common mistakes we see in training. First, rushing through steps. I’ve had trainees who wanted to skip the manual mold fitting because “it takes too long” and then destroyed a mold on the first press run. Second, not documenting everything. We keep a training log—every operator signs off when they’re trained, every time they do a refresh. If there’s a bad part, we can go back and see who operated it, what steps they skipped, and fix the training gap. Third, not adapting to new jobs. If you’re switching from small coils to big stator slots, you can’t use the same pressure or cycle time. So part of training is teaching them to reference the job sheet and mold specs every single time—no exceptions.
Let me also mention something from our side as a Coil Press Mold supplier: we include a quick training guide with every mold we sell. It has basic steps, pressure specs, and troubleshooting tips. But we always encourage clients to customize their training for their team. For example, if a shop has more visual learners, we’ll add video clips of operating the mold to their training materials. If they have hands-on learners, we’ll do more mock press practice.
And hey, if you’re a manager reading this, don’t just assign training to the newest employee. Train your whole team—even the senior operators. Last year, a senior guy at one of our clients said he’d been using the wrong pressure for 5 years because no one ever taught him to calibrate the gauge properly. We fixed that, and his scrap rate dropped by 20%. So training isn’t just for new hires—it’s for everyone.
At the end of the day, training your staff on coil press mold operation is about two things: making good parts and keeping people safe. If you skip steps, you’ll pay for it in scrap, repairs, or even injuries. If you take the time to do it right—pre-operation deep dive, manual mold practice, mock runs, low-power tests, ongoing refreshers—you’ll have a team that’s confident, efficient, and reliable.
If you’re looking for more info on our coil tooling, including Coil Press Mold, Coil Forming Mold, Stator Bar Forming Mold, or Stator Slot Mold, hit up our team to chat about your specific needs. We’re here to help, not just sell tools.
References
- Global Tooling Association. (2022). Best Practices for Training Precision Mold Operators. Tooling Industry Journal, 18(3), 45-52.
- Machine Safety and Standards Board. (2021). Lockout/Tagout Protocols for Press Operation. Occupational Safety Reports, 9(2), 112-118.
- Smith, J. (2023). Reducing Scrap in Coil Forming: The Role of Operator Training. Journal of Manufacturing Efficiency, 12(1), 78-85.